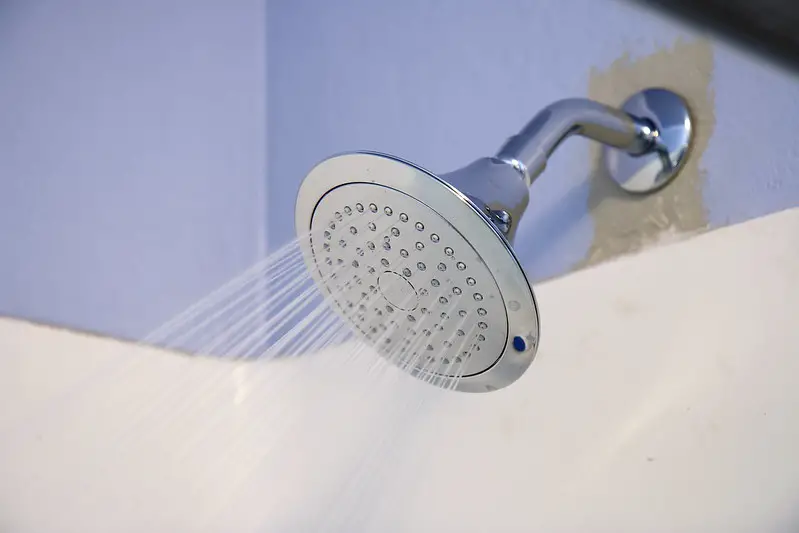
Faucets that aren’t operating adequately may be inconvenient to deal with. The last thing you need when you’re racing to work early in the morning is your shower slowing you down. Shower problems will eventually arise. If the shower arm becomes stuck, it might be the source of the problem.
Regular occurrences of leaks behind the walls can be observed.
It is due to a damaged, diverter or a burst pipe. It could also be because of as well as a defective shower arm. Shower arms are equally as useful as other bathroom fixtures. Even if the arm dismantling method is rigorously followed, the leak will persist.
Minerals are the origin of white deposits surrounding the connection, and without access, there’s not much you can do about it besides continuing trying to crank the shower arm. In the absence of a scale, a few squirts of spray lubrication on the threads may loosen them.
Why Do Shower Arms Get Stuck?
Even while the shower arm isn’t usually the source of inadequate water flow, it can still cause issues. The date when the problem first appeared might help you figure out what’s causing it. It’s also possible that someone in your family accidentally whacked the shower arm. A powerful hit might cause the arm to become crooked.

The deposit of a foreign substance is the most typical cause of shower arm blockage. The connection between the shower arm and the water pipe may have deteriorated. Minerals from hard water may have collected around the arm joint if you have it at home. Rust and mineral buildup are difficult to avoid. It’s a problem that many homeowners will face at some point.
Also, Read – How to stop water from running out of shower
The procedures outlined in the next section can assist you in effectively dealing with the problem. Shower arm issues that appeared soon after installation is due to the installation procedure.
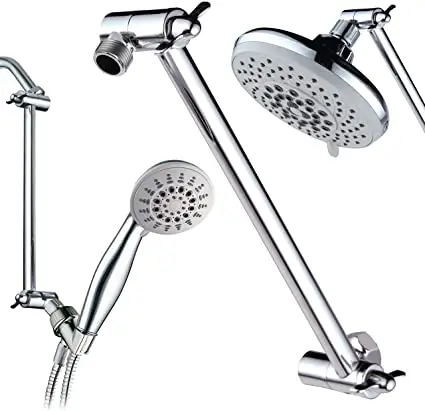
Tools You Would Need to Remove a Stuck Shower Arm
Vise Grips, Adjustable Pipe Wrench, Limescale Remover, Thread Seal Tape.
Here’s a step-by-step guide on removing a stuck shower arm
1: Stop the flow of water.
You should switch off the water supply to the shower just to be safe. Some showers have a flow valve in the access panel behind them. It also depends on how the house is built. It is always possible to turn the water off to the whole house. (Or just the bathroom)
2: Remove the shower arm by twisting it off.
Most of the time, it’s possible to grip the shower arm and twist it off with your two hands.
3: Examine The Shower Arm Intersection
It is a little simpler to get a ladder for this step, but you must go up there and inspect the shower arm at the point where it exits the shower riser pipe. Examine the joint to see what you can find.
If you notice any brown stains on the chrome, it’s possible that the shower arm has rusted and is now rusting, which explains why it’s so difficult to remove. However, some white patches may be visible. Mineral scales can also make items difficult to remove. You’ll need to remove the rust and mineral scale from the shower arm if you have either of these issues. Fill a dish with vinegar, soak a small towel or rag in it, then wrap it over the shower arm for 15 minutes. Any junk in the road should be loosened up as a result.
4: Adjustable Pipe Wrench
If all the alternatives don’t work out and the shower arm still won’t budge, it’s time to get the adjustable pipe wrench.
Wrap the strap around the showerhead and draw it through the ratcheting lock to tighten it. Rubber straps are common on strap wrenches, but if yours doesn’t, it might slip. Wrap a rubber glove over the showerhead before connecting the strap to avoid this. Once the wrench is in place, crank the head counterclockwise with as much force as needed on the handle. Even if the showerhead is jammed heavily, this procedure should work.
Also, Read – How to remove the shower drain cover?
With the pipe wrench, grab the shower arm and adjust it so that it fits securely on the arm. Be sure to press down on the pipe wrench rather than pull it. It is designed to be used with only one hand.
5: Get a New Shower Arm

After removing the old shower arm, you may easily replace it with a new one. All you need is a new shower arm and some plumbers tape or Thread Seal Tape to complete the task.
Wrap at least two complete wraps of thread seal tape around the shower head’s threads that are inserted into the wall. It will create a seal in your wall, ensuring that no leaks occur. Turn to the right after aligning the sealed threads with the shower riser pipe in the wall. You can usually hand-tighten these new arms. Your new shower arm should now be mounted, and you’re ready to add a new shower head!
How to Remove a Stuck Shower Arm?
- Turn off the Shower’s Water Flow Valve.
Turn off the water flow valve at the access panel behind the shower wall or the entire bathroom’s water supply.
- Grip the shower arm and turn it.
Hold the shower arm in place with a vice grip. Turn the showerhead nut counterclockwise with an adjustable wrench. Stop rotating the shower arm immediately if it does not come loose to risk breaking it.
- Examine the Shower Arm’s Top
Ascend the stepladder and examine the shower arm at the point where it connects to the shower riser pipe. Rust can be seen as brown flecks and patches on the shower arm’s chrome, indicating that the shower arm is corroded. Mineral scales are white particles that are flaky, crumbling covering of hard substance. This is expected as hard water with a high mineral salt concentration flows through the shower arm.
- Get Rid of Rust and Mineral Scale
Rust and mineral scale may be removed using a variety of procedures. Put some vinegar in a small dish, put on some rubber gloves, and soak a cloth in it. Leave the towel wrapped around the nut at the top of the shower arm for about 10 minutes. Unroll the towel and wipe the shower arm clean. If the region looks clear of rust and scale, use the adjustable wrench to twist the shower arm off again. If the vinegar didn’t work, use a dry towel to wipe off the shower arm.
How to Remove a Stuck Shower Arm Without Using a Wrench?
1: Using your hands, remove the showerhead.
Depending on the design of your shower head, grab the showerhead or the connecting nut. Unscrew and remove the old showerhead by turning it counterclockwise. If you need extra leverage, turn while holding the shower hose with your other hand. (Avoid bending or moving the shower pipe)
2: Wrench or Adjustable Pliers
Adjustable slip-lock pliers (while not technically a wrench) will perform the job. However, their sharp grippers can easily harm the showerhead’s gloss, so proceed with caution. If the showerhead is stuck due to corrosion or mineral deposits, you may wish to consider other options.
You’ll need a few basic materials if you can’t remove the showerhead by hand. First, wrap the cotton rag over the adjustable pliers or wrench to protect the fitting. Later, position it over the connecting nut. To hold the connection, tighten the pliers or wrench as needed. Finally, unscrew and remove the old showerhead by turning it counterclockwise.
3: Use Vinegar to Remove a Stuck Shower Head
Fill a plastic bag halfway with white vinegar and place it over the clogged fitting. Wait a few hours or perhaps overnight. Return to Step 2 to remove the old showerhead after removing the plastic bag. Remove any residual plumber tape or residue from the shower pipe threads after you’ve successfully removed the old showerhead.
What to Do If It Has Broken During Process?
If you apply too much power to turn a rusted shower arm that’s stuck, it’ll break no matter how hard you attempt to avoid it. It may appear to be a significant problem that might need you to break through the wall to replace the fitting with the broken pipe lodged inside it. Instead, there is a simple solution that can avoid this concern. A regular 10-inch metal file, a hammer, and your wrench are all you’ll need.
To wedge the file against the sides of the stuck, broken pipe, poke the tapered end through the hole in the wall, enter it as far as it will go into the fitting, then pound it firmly with the hammer to wedge it against the sides of the stuck, broken pipe. Next, clamp a wrench to the file, then use the wrench handle to break the seal, locking the threads. If the file spins inside the pipe, bang it harder until it stops spinning.
Remember that the pipe must come free by turning counterclockwise, so ensure you’re tapping in the appropriate direction. A few good taps should break the seal, allowing you to complete unscrewing and detaching the pipe by hand.
Wrapping Up
If the correct equipment is not available, removing a shower arm from the wall might be challenging. There is, however, no need to hire a professional plumber and waste a lot of money. Instead, gather the necessary equipment and, with a bit of trial and error, you should be able to remove the jammed shower arm simply.